React.js Interview Cheat Sheet: 7 Essential Concepts to Master React Interviews

What is React.js? A Quick Overview
React.js is a JavaScript library developed by Facebook for building user interfaces with reusable components. When preparing for a React interview, understanding the fundamentals is crucial.
Think of React as a toolbox that helps you build interactive web applications efficiently. Instead of manipulating the entire page every time data changes, React updates only the parts that need to change this is called the Virtual DOM.
Key points about React:
- Component-based architecture for reusability
- Unidirectional data flow (one-way binding)
- Fast rendering through the Virtual DOM
- Large community and ecosystem
- Perfect for single-page applications (SPAs)
Many React.js Interview Cheat Sheet resources skip this foundation, but interviewers often ask about React basics to understand your true comprehension level.
Why React is Popular in Interviews
Companies love React because it’s industry-standard and solves real problems. When you master React fundamentals, you’re demonstrating problem-solving skills, not just memorization.
State vs Props: Understanding the Difference
This is the most frequently asked React.js Interview Cheat Sheet question. Understanding state versus props is fundamental to React development.
What is State?
State is data managed within a component that can change over time. When state changes, the component re-renders to reflect the new data.
State is private to the component it’s like internal data that only that component knows about.
State characteristics:
- Managed within the component
- Can be updated using
setStateor hooks - Changes trigger a component re-render
- Local to the component (encapsulated)
What are Props?
Props (properties) are read-only data passed from parent to child components. Think of props as function parameters for components.
Props flow downward—from parent to child, never the other way around.
Props characteristics:
- Passed from parent to child component
- Read-only (immutable)
- Cannot be modified by the child component
- Enable component reusability
Quick Comparison Table
| Feature | State | Props |
|---|---|---|
| Managed by | Component itself | Parent component |
| Mutability | Mutable (can change) | Immutable (read-only) |
| Data flow | Internal only | Parent to child |
| Re-render | Yes, when changed | Yes, when changed |
| Default values | Set in component | Passed by parent |
Real-World Example
Imagine a shopping cart application. The cart’s total price is state (it changes when items are added). The product price you pass to each product card is props (it doesn’t change within the card).

React Hooks: Why You Need to Know Them
React Hooks revolutionized how developers write components. Introduced in React 16.8, hooks let you use state and other React features without writing class components.
Before hooks, you had to use class components for state management. Hooks made the React.js Interview Cheat Sheet much more relevant because they’re now the standard approach.
Why Interviewers Love Asking About Hooks
Hooks demonstrate your understanding of modern React. They show you’re not stuck in outdated patterns.
Advantages of hooks:
- Simplify component logic
- Make code more reusable
- Easier to test and debug
- Reduce component complexity
- Enable logic sharing between components
Hooks follow two important rules:
- Only call hooks at the top level (not inside loops or conditions)
- Only call hooks from React components or custom hooks
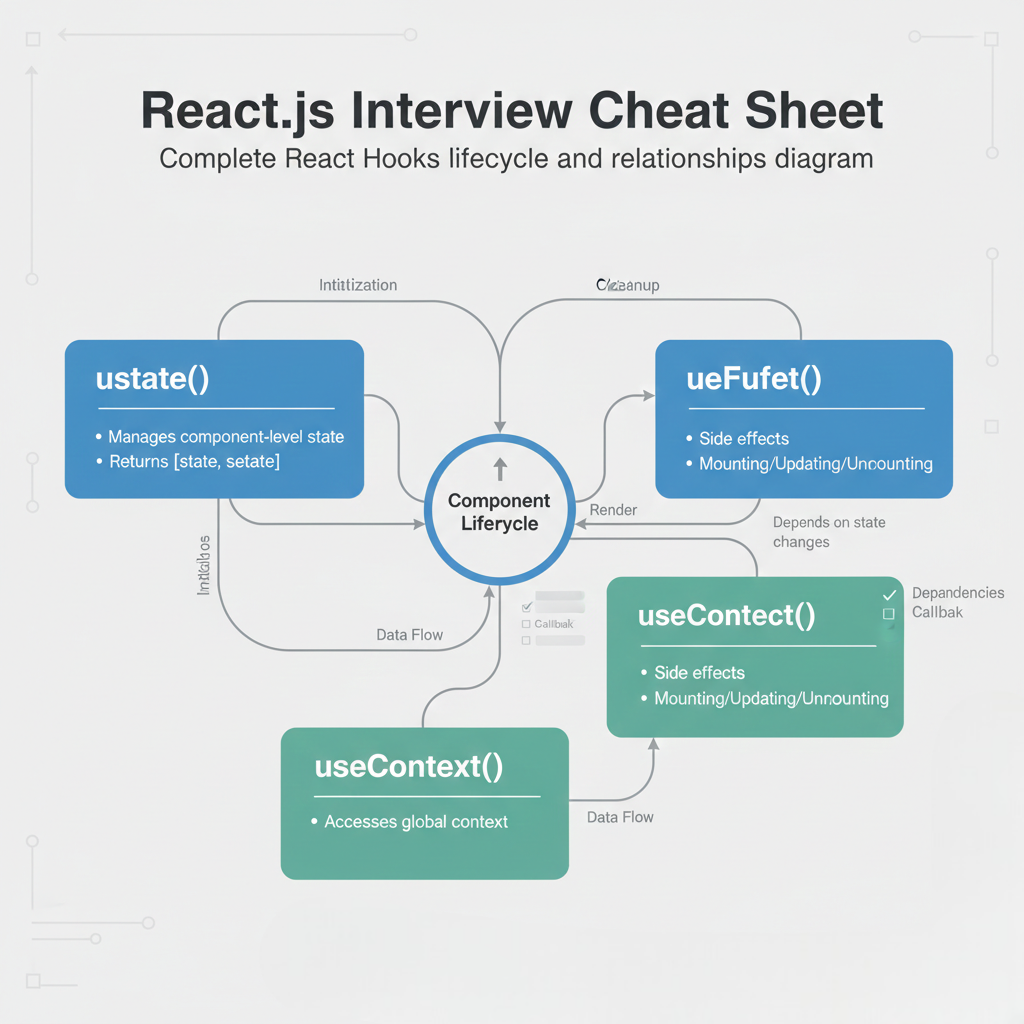
Essential React Hooks Explained
For your React.js Interview Cheat Sheet preparation, these three hooks are absolutely critical.
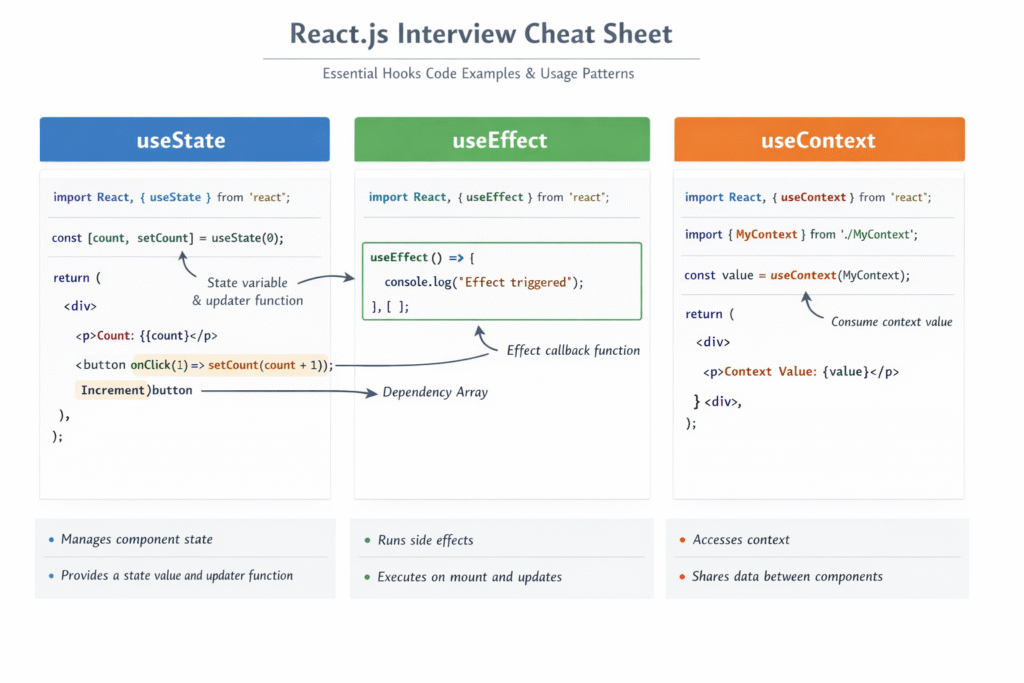
1. useState Hook
The useState hook lets functional components have state. This is the most frequently used hook in React.
					<!--Syntax-->
const [state, setState] = useState(initialValue);
					<!--Example-->
import React, { useState } from 'react';

function Counter() {
  const [count, setCount] = useState(0);

  return (
    <div>
      <p>Count: {count}</p>
      <button onClick={() => setCount(count + 1)}>
        Increment
      </button>
    </div>
  );
}

export default Counter;
Key points:
useStatereturns an array with two elements- First element is the current state value
- Second element is a function to update that state
- You can use multiple useState calls in a single component
2. useEffect Hook
The useEffect hook handles side effects in functional components. Side effects include data fetching, subscriptions, or manually changing the DOM.
					<!--Syntax:-->
useEffect(() => {
  // Side effect code here
  return () => {
    // Cleanup code (optional)
  };
}, [dependencies]);
					<!--Example-->
import React, { useState, useEffect } from 'react';

function DataFetcher() {
  const [data, setData] = useState(null);
  const [loading, setLoading] = useState(true);

  useEffect(() => {
    fetch('https://api.example.com/data')
      .then(response => response.json())
      .then(result => {
        setData(result);
        setLoading(false);
      });
  }, []); // Empty dependency array runs once on mount

  if (loading) return <p>Loading...</p>;
  return <div>{JSON.stringify(data)}</div>;
}

export default DataFetcher;
Understanding dependencies:
- Empty array
[]: Runs once when component mounts - No array: Runs after every render (use carefully!)
- With values
[count]: Runs whencountchanges
3. useContext Hook
The useContext hook lets you access context values without prop drilling (passing props through multiple levels).
					<!--Example-->
import React, { createContext, useContext } from 'react';

const ThemeContext = createContext();

function ThemeProvider({ children }) {
  const [theme, setTheme] = React.useState('light');

  return (
    <ThemeContext.Provider value={{ theme, setTheme }}>
      {children}
    </ThemeContext.Provider>
  );
}

function ThemedButton() {
  const { theme, setTheme } = useContext(ThemeContext);

  return (
    <button onClick={() => setTheme(theme === 'light' ? 'dark' : 'light')}>
      Current theme: {theme}
    </button>
  );
}
Why useContext matters:
- Eliminates prop drilling
- Simplifies state sharing
- Makes global state management cleaner
Common React Interview Questions & Answers
This section of your React.js Interview Cheat Sheet covers actual questions you’ll encounter.
Q1: What’s the difference between a controlled and uncontrolled component?
Answer: A controlled component has its form data managed by React state. An uncontrolled component manages its own form data using the DOM.
					// Controlled Component
function ControlledInput() {
  const [value, setValue] = useState('');

  return (
    <input
      value={value}
      onChange={(e) => setValue(e.target.value)}
    />
  );
}

// Uncontrolled Component
function UncontrolledInput() {
  const inputRef = useRef();

  const handleSubmit = () => {
    console.log(inputRef.current.value);
  };

  return (
    <>
      <input ref={inputRef} />
      <button onClick={handleSubmit}>Submit</button>
    </>
  );
}
Q2: Why do we need keys in React lists?
Answer: Keys help React identify which items have changed. Without keys, React might re-render unnecessary elements or lose component state.
					// Bad: Using index as key (avoid this!)
{items.map((item, index) => <Item key={index} data={item} />)}

// Good: Using unique identifier
{items.map((item) => <Item key={item.id} data={item} />)}
Interview tip: Always use unique, stable identifiers. Index keys are problematic when lists can be reordered or items can be added/removed.
Q3: What is the Virtual DOM and why is it important?
Answer: The Virtual DOM is a lightweight JavaScript representation of the real DOM. React uses it to optimize updates by comparing the new Virtual DOM with the previous one (diffing) and only updating changed elements.
This process is called reconciliation and makes React applications fast.
Interview tip: Explain that the Virtual DOM isn’t about speed directly—it’s about efficiency. It prevents unnecessary DOM manipulation, which is expensive.
Q4: How do you prevent unnecessary re-renders in React?
Answer: Several techniques include:
- React.memo – Prevents re-rendering if props haven’t changed
- useMemo – Memoizes expensive computations
- useCallback – Memoizes function references
- Proper dependency arrays – Ensure useEffect doesn’t run unnecessarily
					// Using React.memo
const MyComponent = React.memo(function MyComponent(props) {
  return <div>{props.name}</div>;
});

// Using useMemo
function ExpensiveComponent({ value }) {
  const computedValue = useMemo(() => {
    return heavyComputation(value);
  }, [value]);

  return <div>{computedValue}</div>;
}
Interview tip: Focus on understanding when to optimize, not just how. Premature optimization is a mistake.
Q5: What’s the difference between useCallback and useMemo?
Answer:
- useCallback memoizes a function itself
- useMemo memoizes the result of a computation
					// useCallback - returns memoized function
const memoizedCallback = useCallback(() => {
  doSomething(a, b);
}, [a, b]);

// useMemo - returns memoized value
const memoizedValue = useMemo(() => {
  return computeExpensiveValue(a, b);
}, [a, b]);
Interview tip: Use these when passing functions to child components that rely on reference equality, or when calculations are expensive.
Best Practices and Common Mistakes
✅ Best Practices
1. Keep components small and focused Each component should have a single responsibility, making them easier to test and maintain.
2. Use proper naming conventions Name components with PascalCase and hooks with camelCase starting with “use”.
3. Lift state up when needed If multiple components need the same state, move it to their common parent.
4. Avoid inline object/array creation in props This causes unnecessary re-renders:
Final Interview Preparation Tips
Your React.js Interview Cheat Sheet is now complete. Here’s how to maximize your interview success:
Practice Strategies
- Code from memory – Don’t rely on autocomplete during interviews
- Explain your thinking – Talk through your solution as you code
- Ask clarifying questions – Understand requirements before jumping into code
- Test your code – Walk through examples mentally or on a whiteboard
- Discuss trade-offs – Show knowledge of performance considerations
Topics to Review One More Time
- Difference between state and props ✓
- Why React uses keys in lists ✓
- The purpose of the Virtual DOM ✓
- useState and useEffect hook patterns ✓
- Controlled vs uncontrolled components ✓
- Performance optimization techniques ✓
Additional Resources
For deeper learning, explore:
- React’s Official Documentation – The authoritative source
- Build small projects combining hooks, state, and props
- Review real-world React code on GitHub
- Read interview question forums like LeetCode and HackerRank
Before Your Interview
- Get 8 hours of sleep
- Review this cheat sheet one more time
- Code for 30 minutes to warm up
- Remember: You’ve practiced React.js interview preparation—trust your preparation
Deep Dive: More Interview Prep Guides
Ready to level up even further? Check out our other step-by-step guides to ensure you are fully prepared for every round of your technical interview:
- JavaScript Interview Cheat Sheet: Ace Your Frontend Rounds – Master Scope, Hoisting, and the Event Loop with these high-frequency questions.
- 10 Killer Computer Science Projects to Land a Job in 2026 – Stand out from the crowd by building these industry-relevant projects.
- Docker Interview Questions & Answers – A complete guide to mastering containerization concepts for DevOps and Backend roles.
- JavaScript Polyfills Cheat Sheet – Learn how to write your own versions of map, filter, and reduce from scratch.